
We have such incredible ideas to share with you today! Here at Practical Scrappers, we are all about sharing ideas, tips, and techniques. We've had two marvelous tutorials submitted showcasing distressing. Both feature different ideas about distressing and to be creative when using this much loved technique. First up is a tutorial submitted by Cricket Rookie. She is going to inspire you to create a grunge purse. Talk about a fabby gift idea, you could even drop in gift card to recipients favorite store or restaurant!


The purse dimensions assembled are 5 1/4" high, 10" wide and 2" deep. I used 2 sheets of 12 x 12 Tim Holtz grunge paper. Here is the template that I free handed: The over-all size of this piece is, 12x12.
Hopefully you can click on the pictures to make them larger to see the dimensions.

The next piece I cut is the lid of the purse:
This piece is, 9 1/8" x 9 3/4" overall.
I used a punch and scalloped the flap of the purse.

For the sides, I cut 2 of these. After the whole purse was cut out of the gunge paper, I inked it with TH distress ink. (before putting it together.)

This picture shows how the purse is put together after it is folded.
Here the cover is laying on the purse.
To assemble the purse I used a paper piercer to poke holes where I wanted the brads to go.
This picture shows what the sides look like folded.

Before I put the side pieces over them, I slipped a round metal ring in the top flap of the side to hold the handle. Then I attached the sides down. For added durability I also used glue along with the brads.
Don't go by the holes on the pattern, I would suggest you put the purse together, then mark where you want the holes.

The stamping was done with Stazon Ink before the purse was assembled. I used a tape measure for the handle and added lace on the front flap The flowers made out of old books and my cricut. I inked them and added glossy accents to each petal before assembling. The clock face and tag were cut out of TH paper and topped with glossy accents. The tag was cut with grunge paper and stamped and inked. Held on with TH swivel clasps.

Next up, libeeti shows us how to distress a frame using a candle.

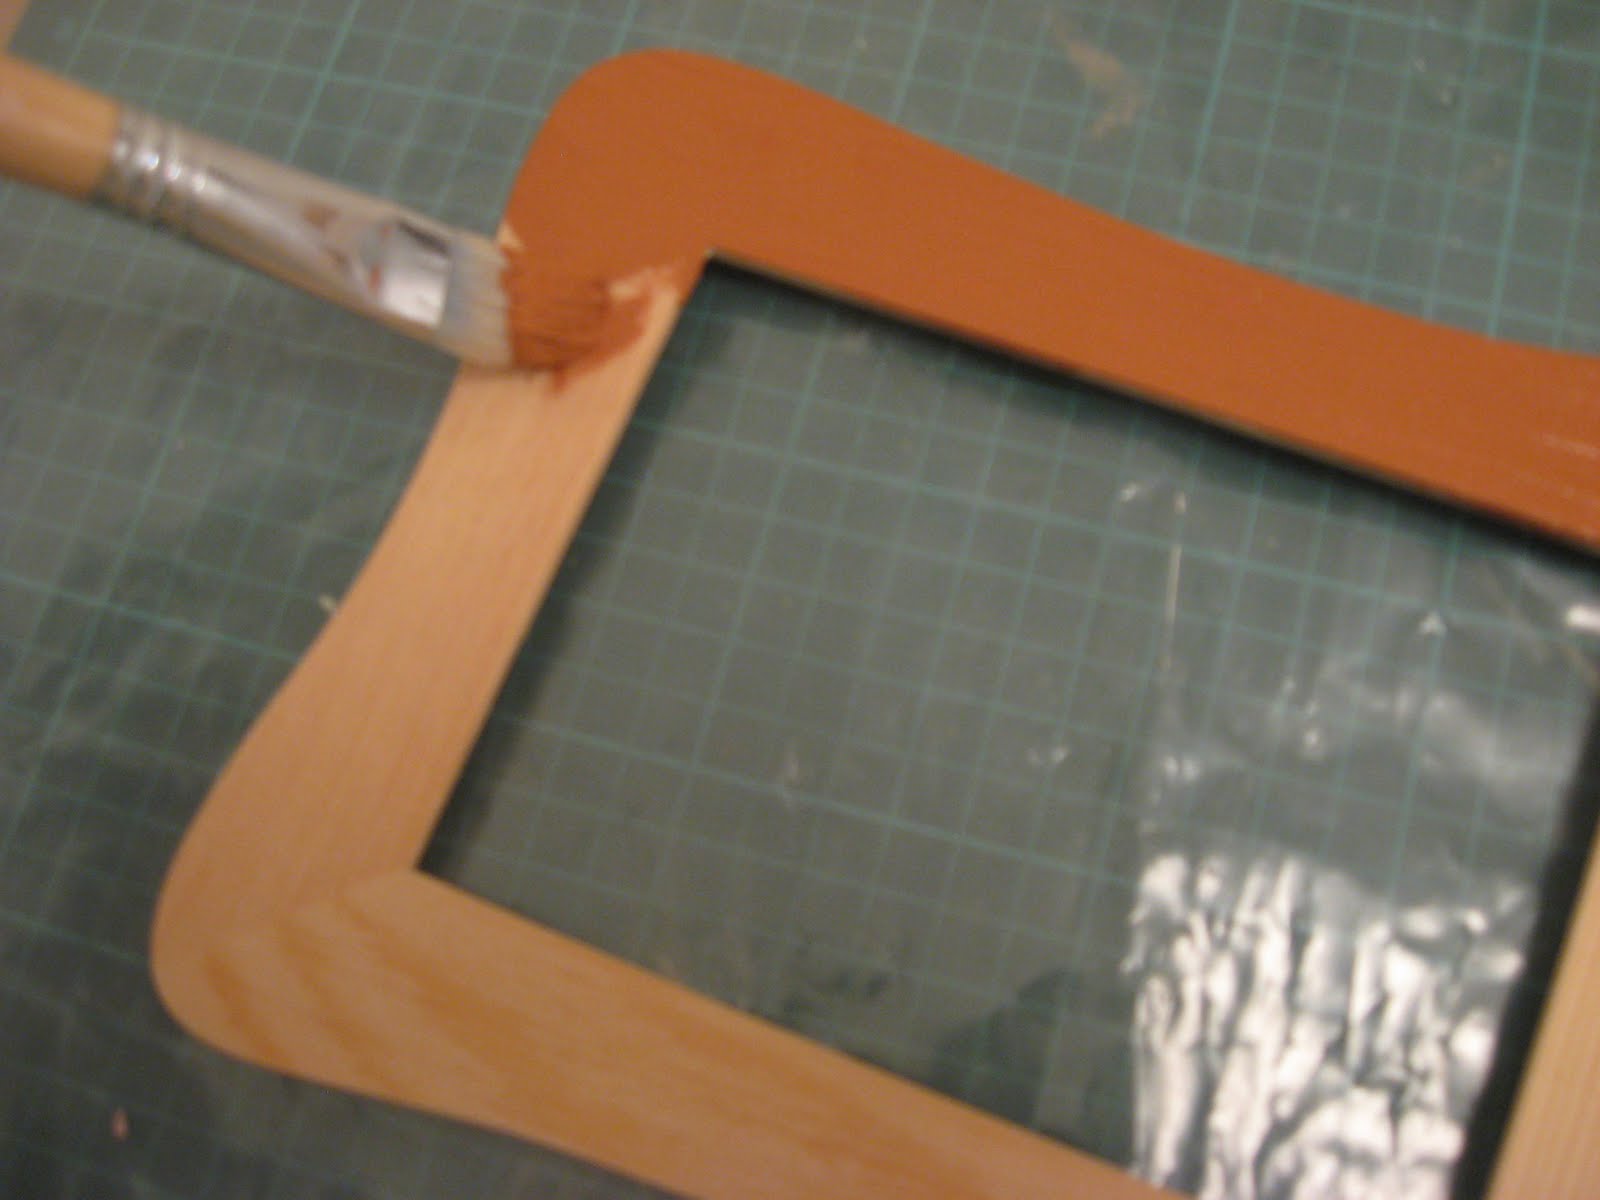
The materials: a wooden frame, acrylic paints (preferable in two contrasting colors), a brush, a sand paper, a candle.

Step 1: Color the wooden frame with the base color all over (I chose brown).
Step 2:
Scrub the colored frame with the candle in different places, especially at the edges and the corners. Clean the leftovers of the candle.

Step 3:
Color the frame with the other color all over (I chose vintage white).

Step 4:
Scrub the frame with a sand paper. You should follow the places where you scrubed with the candle before.

And this is what you should get:


And a closeup on a corner:
For the embellishments I stamped the frame, added lace, pearls, prima flowers and a butterfly sticker.
Weren't these just marvelous? We certainly hope they inspired you to try your hand at distessing on your next project!
Thanks for joining us today at Practical Scrappers, practically scrapping in every way!

4 comments:
Great projects to share ladies, I haven't done either one of these techniques.
Ooooh! I'm loving that candle technique!!!
These are great!! Love the frame!TFS
Wow!! These look great! TFS
Post a Comment