Showing posts with label Alison. Show all posts

Monday, December 30, 2013

Happy New Year

We are taking a break for most of the holiday time, but we wanted to pop in and wish you all a Happy New Year and share a few projects focused on the new year!  

Practical Scrapper Wendi Robinson shares a New Years card

Practical Scrapper Jessica Arrant shares a New Year's card

Practical Scrapper Deborah is looking forward to adventures with her family in 2014.

Practical Scrapper Alison shares a KISS New Year card. Simplicity is her One Little Word for 2014 - here's hoping this card can start things off right!

Friday, October 11, 2013

October Layout Sketch

It's time for another fun sketch by Liz!  This month there is a pumpkin in the sketch but that doesn't mean you have to use it for Fall or Halloween.


Check out what the Design Team did with the sketch today!  You won't be disappointed!
 
Make sure to click on their names below their layouts to head to head to their personal blogs and learn more about their creative process!

Practical Scrapper Wendi Robinson
 

Practical Scrapper Jessica Arrant
 

Practical Scrapper Lee-Anne Thornton


Practical Scrapper Lanette
 

Practical Scrapper Julie
 
 
Practical Scrapper Deborah
 

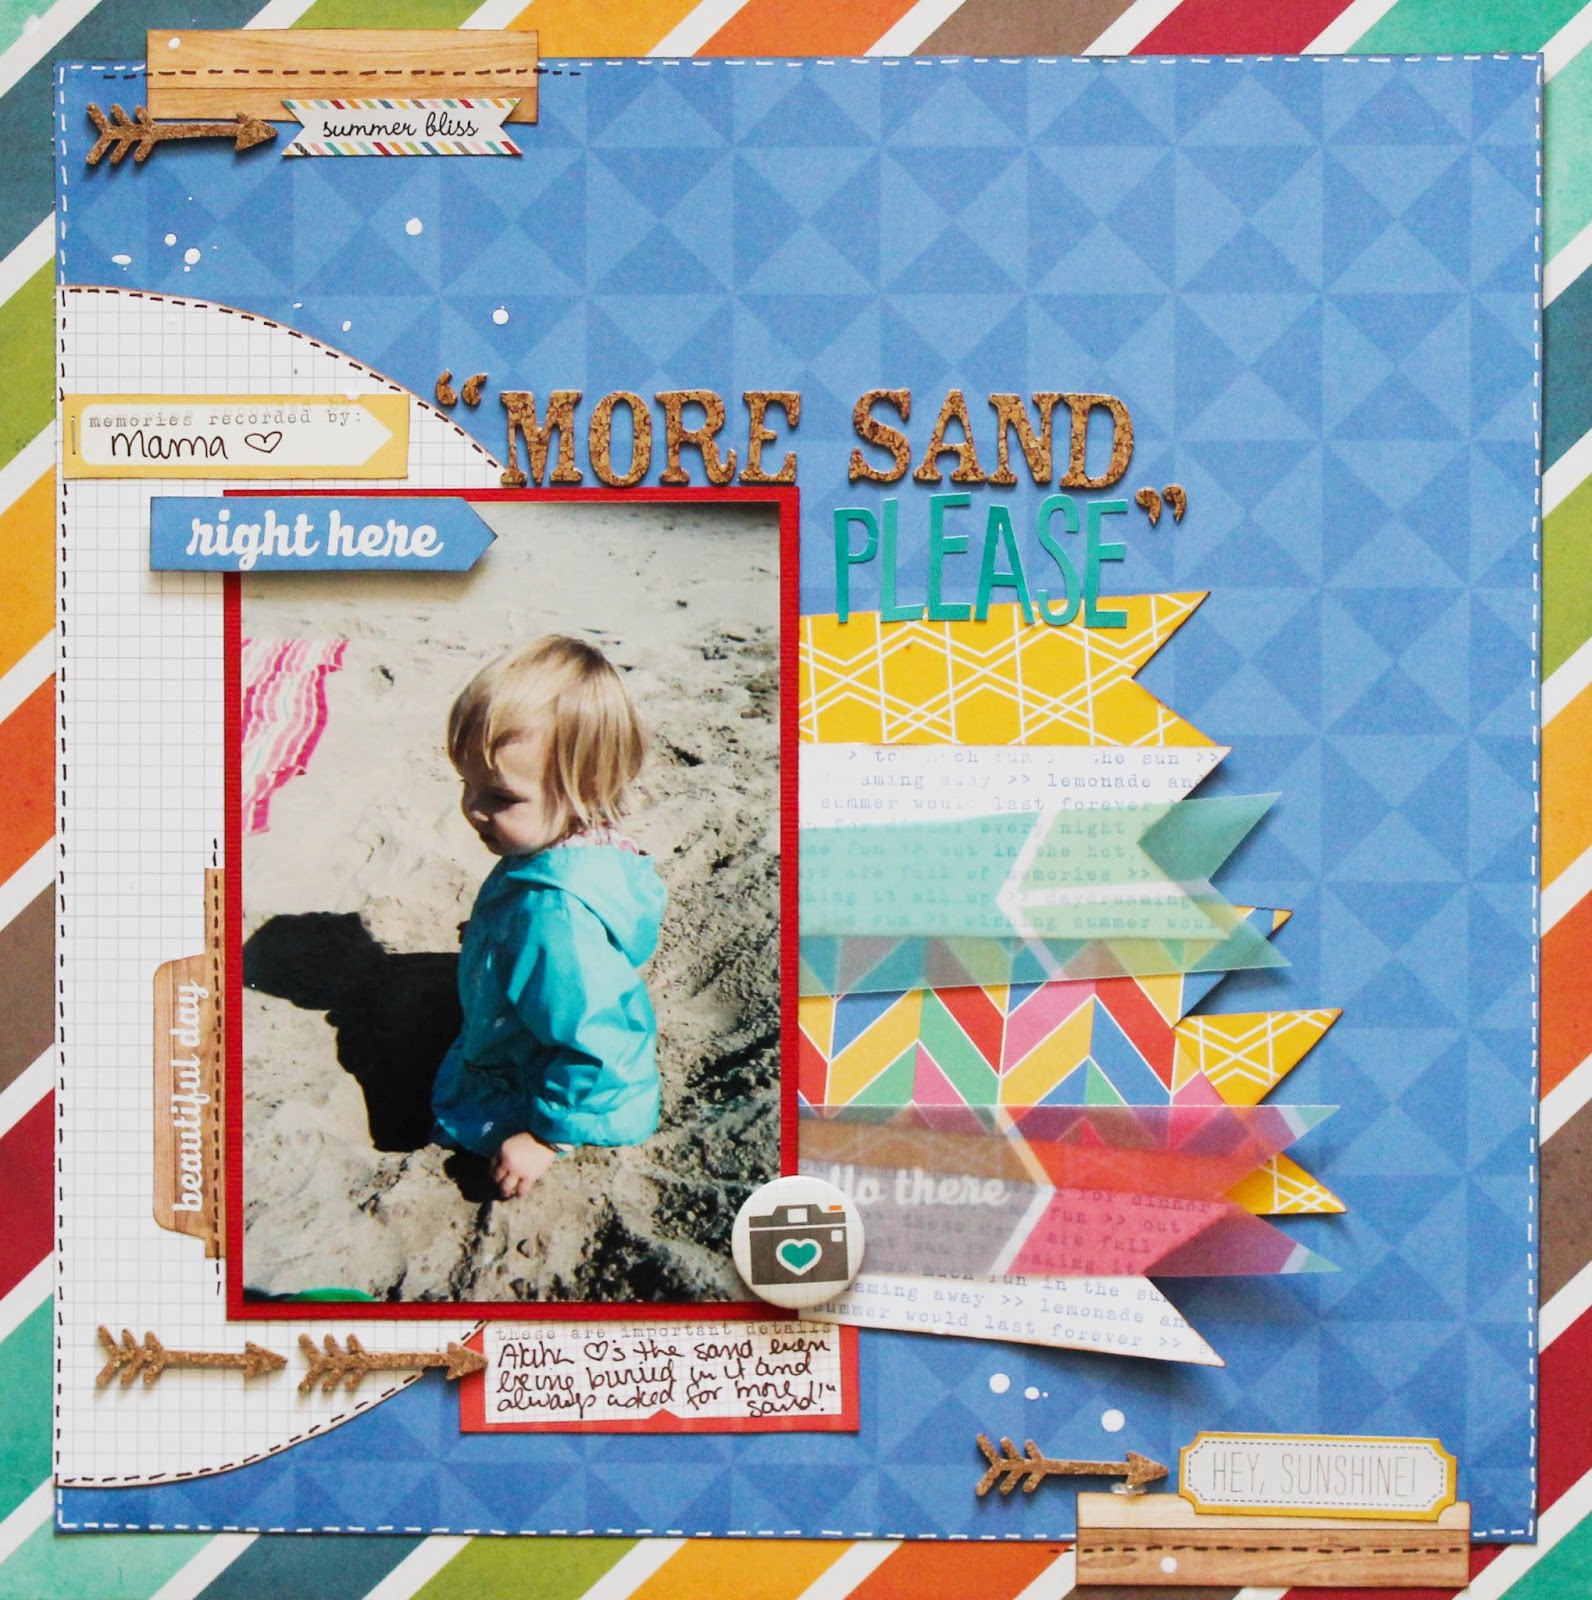
Practical Scrapper Alison
 

Practical Scrapper Kelly Jean
 
 
Practical Scrapper Cathy


Practical Scrapper Kim Ryden
 
 
Thanks for stopping by today!  We hope you all have a great weekend!!

Friday, September 27, 2013

September Layout Sketch

It's time for another Layout Sketch by Liz Chidester to get you motivated!!


I really enjoyed working with this sketch this month and I think it's a pretty safe bet that the other Design Team Members did too.  We have 13 variations of the sketch for you to check out today!  So you better get started!
 
Don't forget to visit the Designer's individual blogs and leave them some love if you like what you see!
 
AND...pin it if you LOVE it...
 
 
Practical Scrapper Deborah


Practical Scrapper Patty


Practical Scrapper Wendi Robinson
 
 
Practical Scrapper Liz Chidester


Practical Scrapper Becci Manies


Practical Scrapper Jessica Arrant


Practical Scrapper Lee-Anne Thornton


Practical Scrapper Jennifer Haggerty


Practical Scrapper Kim Ryden


Practical Scrapper Brenda Ragsdale


Practical Scrapper Alison


Practical Scrapper Leslii
 
 
Thanks for stopping by today!  We hope you have a great weekend!

Thursday, August 1, 2013

Dollar Store Make Over!

Hi everyone! Practical Scrapper Alison here sharing a fun Desk Organizer I made for my eldest daughter using a container I found at the dollar store, old tea and coffee containers and some flowers also from the dollar store.


Have you ever wandered the aisles of a dollar store and thought "hmm, that's cute. I wonder what I could make with it?" Well, I went to my local dollar store the other day specifically to do that. When I saw the hot pink container I thought I could cover it in paper and make something cute for one of my daughters. They had them in several colours so I bought 3 different ones (I have 3 daughters after all!) and then was on the hunt for something to make it pretty. 
I normally would completely bypass the fake flowers but on this trip they called to me. So glad they did! Not only are they gorgeous on the finished desk organizer, they helped hide some of the ugly hot glue!! LOL! :)

Here's a quick tutorial on how I made this.

I gathered my supplies - the ones I'd purchased at the dollar store as well as some old coffee and tea containers I'd been hoarding saving for something  special. My thought was that I could attach the smaller containers to my big one ... somehow!

I knew I wanted to cover these with paper so I used a sanding block to rough it up a bit to allow the tape to adhere better.

Then I carefully measured the heights of my containers and cut a piece of Amy Tangerine paper to fit. I decided to go with yellow for this one as the inside of the pink box had a yellow pattern to it.

I covered both the tea container and the coffee tin with strips of double sided tape then carefully stuck my paper to it. Even though I'd very carefully measured, I still had to trim a bit of extra paper from the top with my craft knife. This left a rough looking edge so I went looking for a solution.

Ta-da! Washi tape to the rescue!! I also wrapped it around the top of the large container for continuity. 

The bottom of the smaller containers needed some embellishment too so I found a coordinating paper and using my notebook edge punch I  added strips to the bottom. I then wrapped some twine around the very bottom (I just used more double sided tape to stick it down). As an added layer of protection I covered the two smaller tins with Modge Podge before using hot glue to attach them to the large container.

My daughter's name is Marley so I found a large glittered chipboard 'm' in my stash and used pop dots to attach it to the bin. Then it was time to embellish with the flowers and these little plastic butterflies I also found at the dollar store.

Now she's got a great little desk organizer to (hopefully) keep everything neat and tidy. 

Thanks for visiting the blog today. Hope I've inspired you to scour YOUR local Dollar Store to see what you can re-purpose. Tell me in the comments what your best find has been.

-cheers! 
Alison


Thursday, July 25, 2013

July Layout Sketch

If you love Layout Sketches, you are going to really love this one by Liz!  It was so much fun to play with.  We hope that you agree!


Practical Scrapper Lisa Moen


Practical Scrapper Wendi Robinson


Practical Scrapper Deborah


Practical Scrapper Jennifer Haggerty


Practical Scrapper Danielle de Konink


Practical Scrapper Julie


Practical Scrapper Alison


Practical Scrapper Lucy


Practical Scrapper Dawn Rene


Practical Scrapper Charissa


Practical Scrapper Kristy


Practical Scrapper Kim Ryden
Practical Scrapper Lisa Peeples
 
 
If you would like to play along with us this month, we would love to see what you create!  Just link up in the comments below or add your layout to our facebook page.  Can't wait to see what you come up with!