Showing posts with label Christmas tree tutorial. Show all posts

Tuesday, December 11, 2012

A Paper Tree Tutorial


Hello Everyone, Audrey Yeager here today!

One of my favorite projects I recently did for GCD Studios was a simple little Christmas tree, and I'm going to share with you how I did it!  You can view it and lots of other inspiration HERE in the latest edition or the GCD Studios Magazine "The Paper Cut".


1.  Cut two circles of each size, starting with 7" as the largest, and going down to 1.5", in half inch increments.  This will give you 12 different sized circles for your tree.


2. With wrong sides together, stitch around the circle, but leave about a 1.5" opening.  Fill each circle with Poly Fill batting. (To give some weight to the base of your tree, you could fill the largest base circle with some dried rice or beans.)


3. Once all the circles have been stuffed, stitch the openings closed.


4. At this point, you can stack your circles.  There are different ways to do this.  You could run a string through all of the circles right up the center, starting at the bottom, and then leave some threads at the top so that you can hang your tree.  You could also use a wooden bamboo skewer or dowel and pierce through the holes to provide some more stability.  Or you could do what I did and just use glue dots to attach one circle to the next.


I have been doing a lot of Christmas decor this year on my blog, here are a few sneaks at some of the other projects I've done.  Just click on the link to see more! 


Thanks for stopping by today!

**Designer projects are not always linked in our posts, but you can always find their blogs in our sidebar or in the staff tab**

Sunday, November 20, 2011

Folded Christmas Tree Ornaments

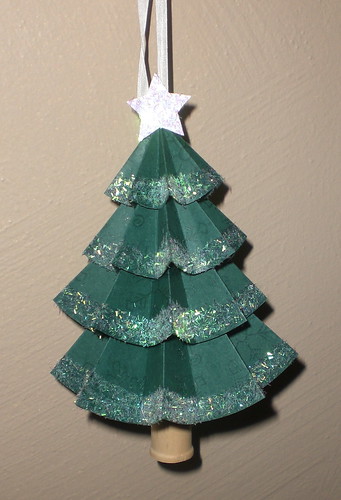
Hello everyone!  It’s Kristy here today, and I have a really fun and easy project to share with you!  I’m sharing some awesome Christmas Tree Ornaments with you today!  

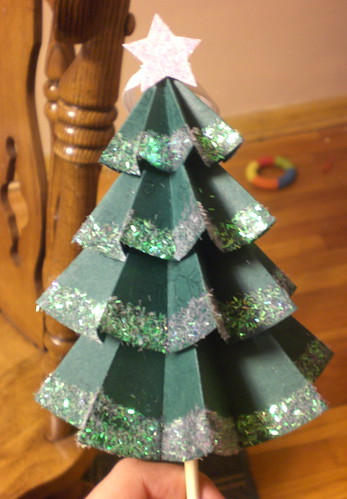
I must start by saying that I got this idea from a blog friend of mine, Chari!  And she originally got the idea from Martha Stewart.  =)  Her trees stand on their own, and I wanted mine to be ornaments so I adapted the size and added a hanger.  Chari has a great video tutorial of her trees -- click HERE to see her blog post!

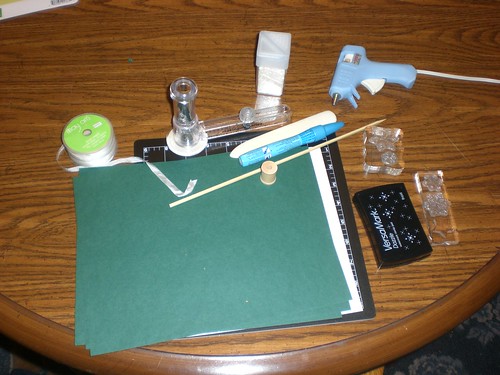
To start this project, you will need:  
- 2 Sheets of Cardstock (the color you want the trees)
- 1 Sheet of Cardstock (accent colors)
- The ability to cut circles of 3, 4, 5 and 6 inches
- Any stamps and inks you want to use to decorate your cardstock
- Glitter
- Bamboo Skewers
- Wooden Spools
- Glue Gun and a glue stick

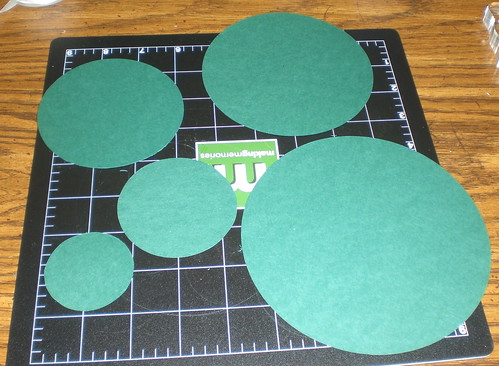
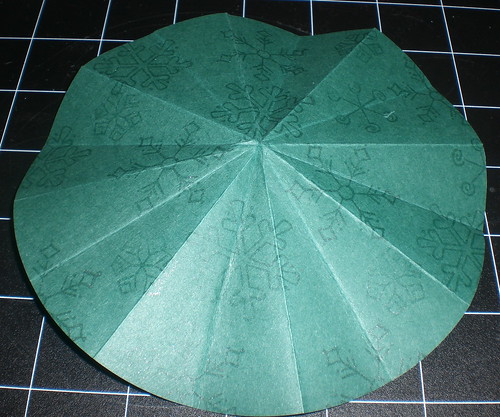
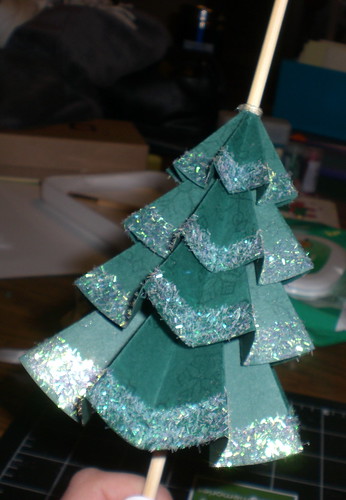
1.  Cut the cardstock into 3, 4, 5, and 6 inch circles.  

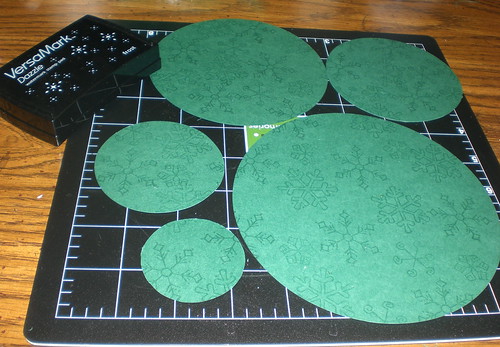
2.  Stamp anything you want on the cardstock.  I used Versamark Dazzle to put snowflakes on my trees!  

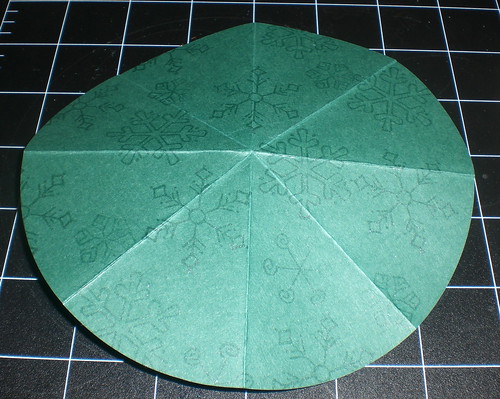
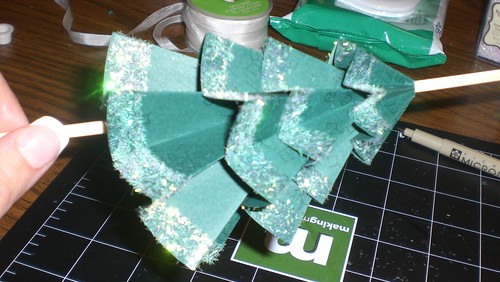
3.  Fold the circles accordian style.  Fold 4 times in one direction, and then 4 times in the opposite direction.  You can use a scoring tool to help you!


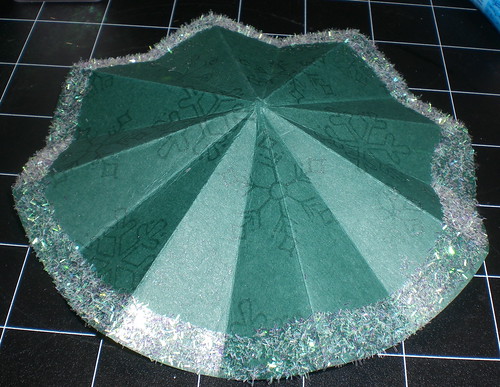
4.  Flatten out the circles and add glitter to the edges (you can skip this step if you’d prefer to leave the glitter off!  


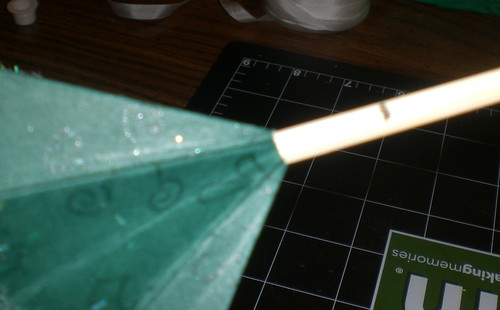
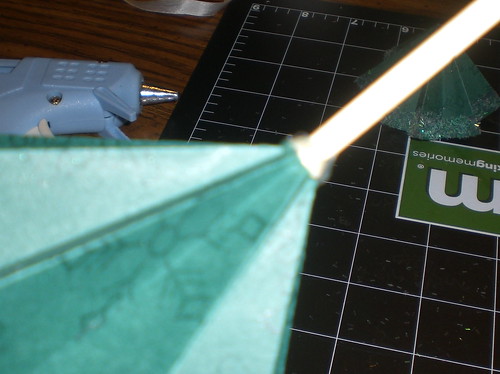
5.  Fold up each circle and cut the very tip off.  (This picture was taken before I cut the tips, but you only want to cut enough to get it on the skewer!)  

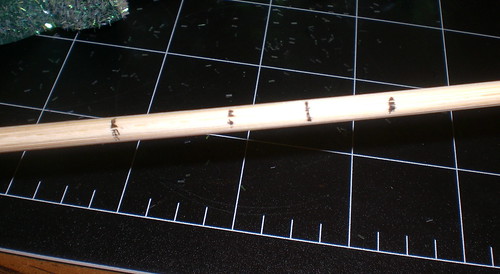
6.  Position the circles on the skewer as you want them.  Mark their spots as you pull each one back off the skewer.  


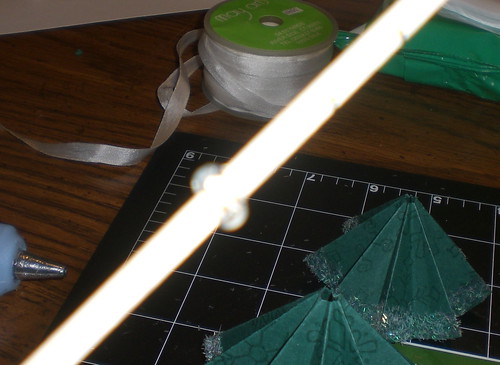
7.  Hot glue each circle into position -- using glue on the top and bottom of the skewer.  (Sorry these pictures are a bit blurry!  It's hard to take pics while you are working with hot glue!) 

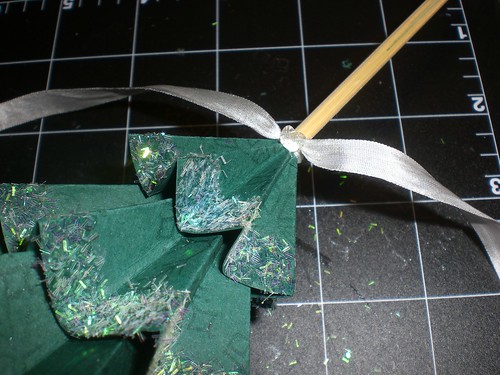
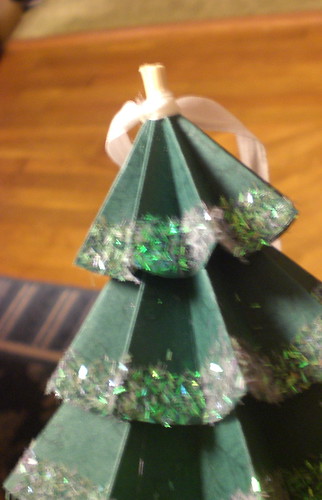
8.  Tie ribbon or twine around the top of the tree.  Glue into place.  Cut the skewer to size.   
 

9.  Make a tree topper (I made a glittery star!) and glue it to the top of the tree.  Glue the spool to the bottom of the skewer (I also cut this skewer to size.)  
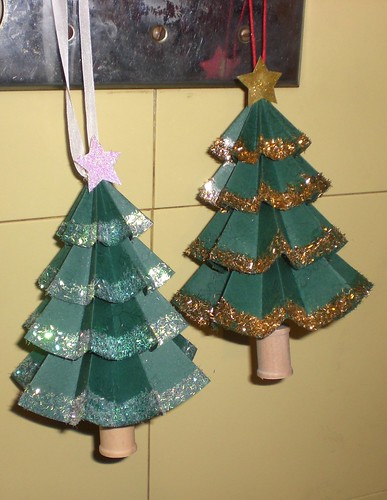
So there you have it!  I hope you like these!  Here are two that I made!  


The possibilities are endless with different colors/glitters/stamps/and papers!  I really hope to make some soon with christmas patterned paper!  Thanks for stopping by today, and I hope you try these soon!  =D


Pin It **Designer projects are not always linked in our posts, but you can always find their blogs in our sidebar or in the staff tab**

Monday, December 13, 2010

Christmas Tree Tutorial

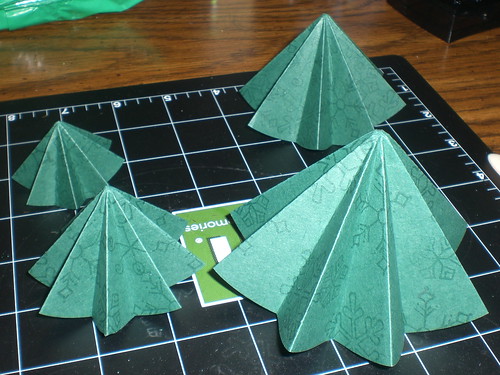
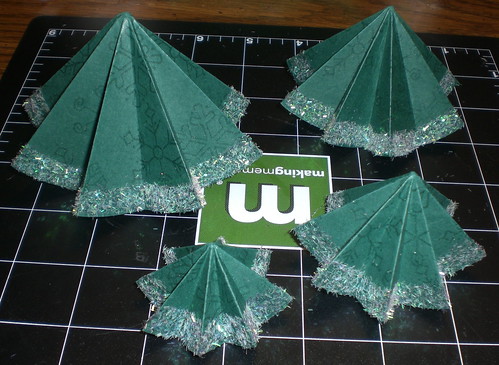
Last week we shared with you some great projects using Christmas trees. Today, we have for you a tutorial creating the trees pictured below that can be used as a great gift, center piece for the table, or even as a tree topper for your very own Christmas tree.

Now these little trees can vary in sizes and you will always need to start with a square (6x6, 7x7, 8x8, 8.5 x 8.5, 12 x 12 are the sizes that I have done them). The supply list that I am going to give to you is based on starting with 12x12 piece of cardstock (for smaller sizes you will need less).