Showing posts with label bakers twine. Show all posts

Wednesday, June 19, 2013

Flowers and Twine...So Divine!


Hi Bev here today at Practical Scrappers. I am excited to do my 1st feature
to share with you. Over time I have learned to make many
flowers to add to my pages and here is just another one but
with so much twine available today here is my florals with added twine.


The above photo shows on the left the twine florals that I purchased
and on the right are the florals I made that were inspired by the others.
All different sizes and layers.... added twine and some buttons.
Twine on the bottom, middle, on top or through the buttons..
so many amazing options.


I took it one further on this layout with more integrate punched bases, fun
twine around and through along with the centre french knots on one.
They made a great cluster here with added buttons and bling.


This piece was much larger with single base and twine
and put a metal button on the centre.


On this section is a circle cut with a large centre circle cut out so I
could wind the twine around and around until it filled the full circle.


And this section I am sharing to show the twine flight path and the twine bow
that was tied around the matted piece behind my photo.

Thanks for joining me today and hope you'll try this method
of making your own twine florals. So easy and it allows
you to match to your paper collection.

Tuesday, September 11, 2012

10 Things You Can Do With: Twine

What did we ever do before baker's twine emerged on the
scrapbooking scene?
Thread, string, and plain floss are fine, but nothing says fun like a bit of colourful twine.
Stumped on how to get it on your projects? Here are 10 ideas to get you started:

1. Bundle it.
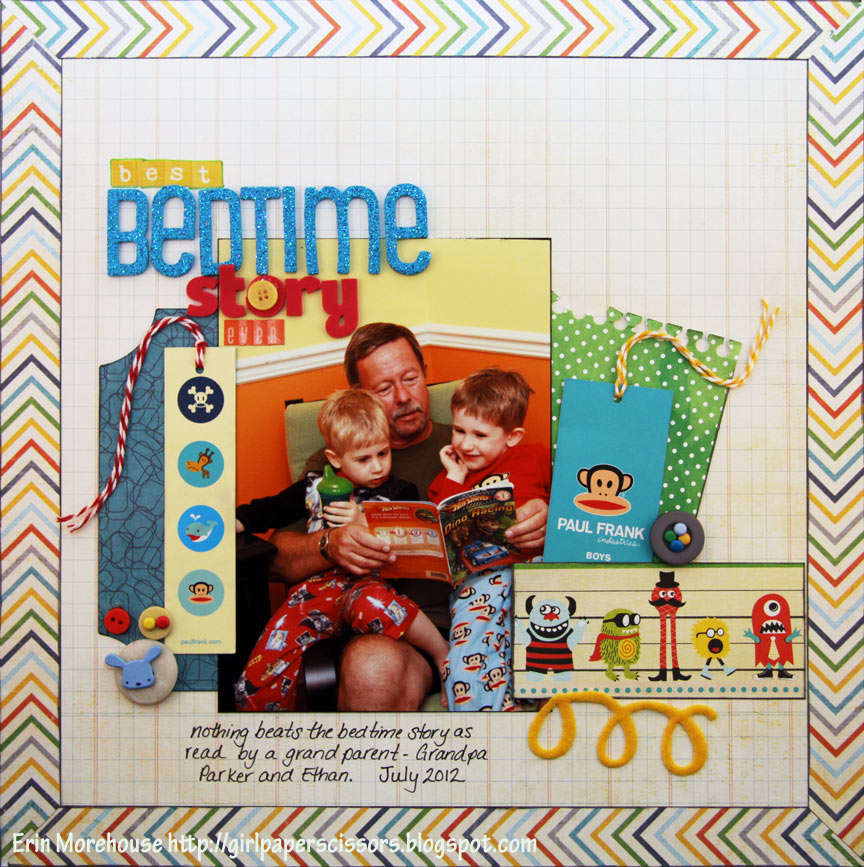
Practical Scrapper Erin tied scraps of twine together and then glued them onto her layout.

2. Go Spiral.
Practical Scrapper Shir Benovich made a custom embellishment by gluing twine in a spiral on her Jewish New Year card (Shana Tova in Hebrew).

3. Make a Title.
Practical Scrapper Leslii used Bakers Twine and watered down white glue to make the title
"Smile" for this layout.

4. Wrap it.
Practical Scrapper Julie used bakers twine to alter her photo.

 5. Frame it.
Practical Scrapper Karen used bakers twine to make a frame with brads to secure the corners.

6.Go floral.
Practical Leila used bakers twine in her handmade flower


7. Button It.
Practical Scrapper Jenny used baker's twine to adhere the buttons to her layout.


8. Criss cross it.
Practical Scrapper Liz used baker's twine to create the diagonal crosses on the ice cream cone.

 9. Tag it.
Practical Scrapper Erin used floss to accent tags on her page.


 10. Make argyle.
Practical Scrapper Christine made a fun argyle pattern using patterned paper and twine.

Happy Tuesday!


**Designer projects are not always linked in our posts, but you can always find their blogs in our sidebar or in the staff tab**

Wednesday, April 4, 2012

Baker's Twine on Layouts

Welcome back for some more baker's twine projects! We hvae some great twine inspiration for you today from our readers and designers...


Practical Scrapper Ann spiraled twine to create this delightful flower border. (Detail shot on her blog.)

Practical Scrapper Heather 
Practical Scrapper Julie created an argyle pattern with baker's twine.


Practical Scrapper Krissy Clark McKee used twine to create her stars (in addition to its ordinary use on her banner).
Charlotte


Pin It **Designer projects are not always linked in our posts, but you can always find their blogs in our sidebar or in the staff tab**

Monday, April 2, 2012

Bakers twine on cards...what's not to love?

Bakers twine is one of my absolute favorite go to products.  You can match it to almost anything and a little goes a long way.  This week I've asked our designers to share fresh ideas with you using bakers twine, stay tuned for layouts on Wednesday!
Practical Scrapper Laura Cox


Practical Scrapper Christine used it here to create a loopy border, adding dimension and softening the edges of the entire card.

I created the Baker's Twine Star by layering pieces of twine, over double sided tape on a thin piece of card stock, then die cut with a Sizzix Star Die.

Practical Scrapper Christine added some super long and flowy bows adding to the softness of the card.

Practical Scrapper Christine likes to experiment with different ways to tie bakers twine onto tags...for this one she did a know at the top and the bottom.

Practical Scrapper Christine created an argyle design using her bakers twine and a triangle punch.