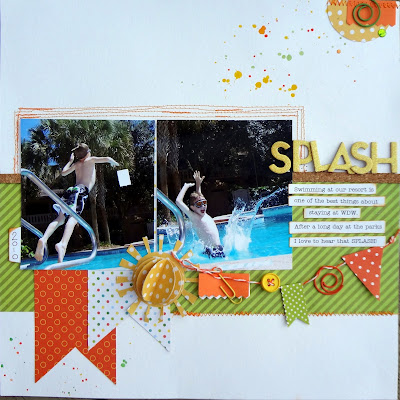
Staples and paperclips don't usually generate too much excitement, but that doesn't mean they should get overlooked when it comes to scrapbooking; they are both meant for paper afterall.
Here are just a few ways that the ordinary office supplies can become crafty stars:
1. String them along.
Practical Scrapper Christa added coloured round and straight paper clips to her design's banner!
2. "Fix" a tear.
Practical Scrapper Julie used stapples to fix the torn and folded paper.
3. Attach your photo.
Practical Scrapper Donna attached her photo with a large paper clip.
4. Make an assemblage
Practical Scrapper Kenya used a staple to hold the sentiment in place and a paper clip to hold the tag. She also used staples and a paper clip under the foil.
 |
| 5. Ruffle some ribbon Practical Scrapper Danielle used staples to make the ruffles in the ribbon.
6. Tie up loose ends.
Practical Scrapper Alison used staples to attach her twine to her card. An added bonus - they help secure the paper pocket too!
|
7. Get bent out of shape.
Practical Scrapper Shir twisted the paper clip to car shape - to match the subject of the layout
8. Put them in your pocket.
Practical Scrapper Leslii used staples to secure cardstock and make a pocket.
Practical Scrapper Leslii used staples to secure cardstock and make a pocket.
9. Lace it.
Practical Scrapper Erin used staples to randomly tie and lace her bakers twine on this page.


5 comments:
great idea love everything all are so pretty
I LoVE these ideas - wonderful inspiration!
Fabulous post, love all the DT samples!!!
Great ideas!
I forget about staples and need to remember them more often, especially the ones that go in the Fastenator. They can add so much.
Some very creative ideas here, thanks!
Post a Comment