
My name is Erin, and I have tons of unused stamps. We all have them, and most of us wish we used them more often. I'm not sure why there is such a reluctance by many to use stamps on scrapbook pages and cards. Maybe we forget we have them, are afraid of making a mistake, are uneasy with the permanence of ink, or just unsure of how to incorporate them. With ideas like these, there is no need to be afraid of your stamps any longer! I challenge you to pull some out this week and use them.

Practical Scrapper Cathy
 Practical Scrapper Erin used Tim Holtz Distress Markers and a water pen to colour these stamps by KaiserCraft.
.JPG) Practical Scrapper Mary Pat
Practical Scrapper Mary Pat

 Practical Scrapper Jayma used flower stamps to create her own patterned paper.
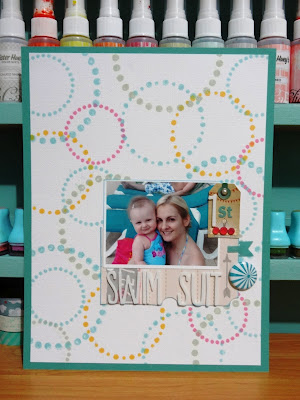 Practical Scrapper Caz used a Studio Calico stamp set to create the background
 Practical Scrapper Leila


.JPG)

Practical Scrapper Ann Jobes used this sweet stamp set from Your Next Stamp, a style typically used for a card, to create this birthday page.


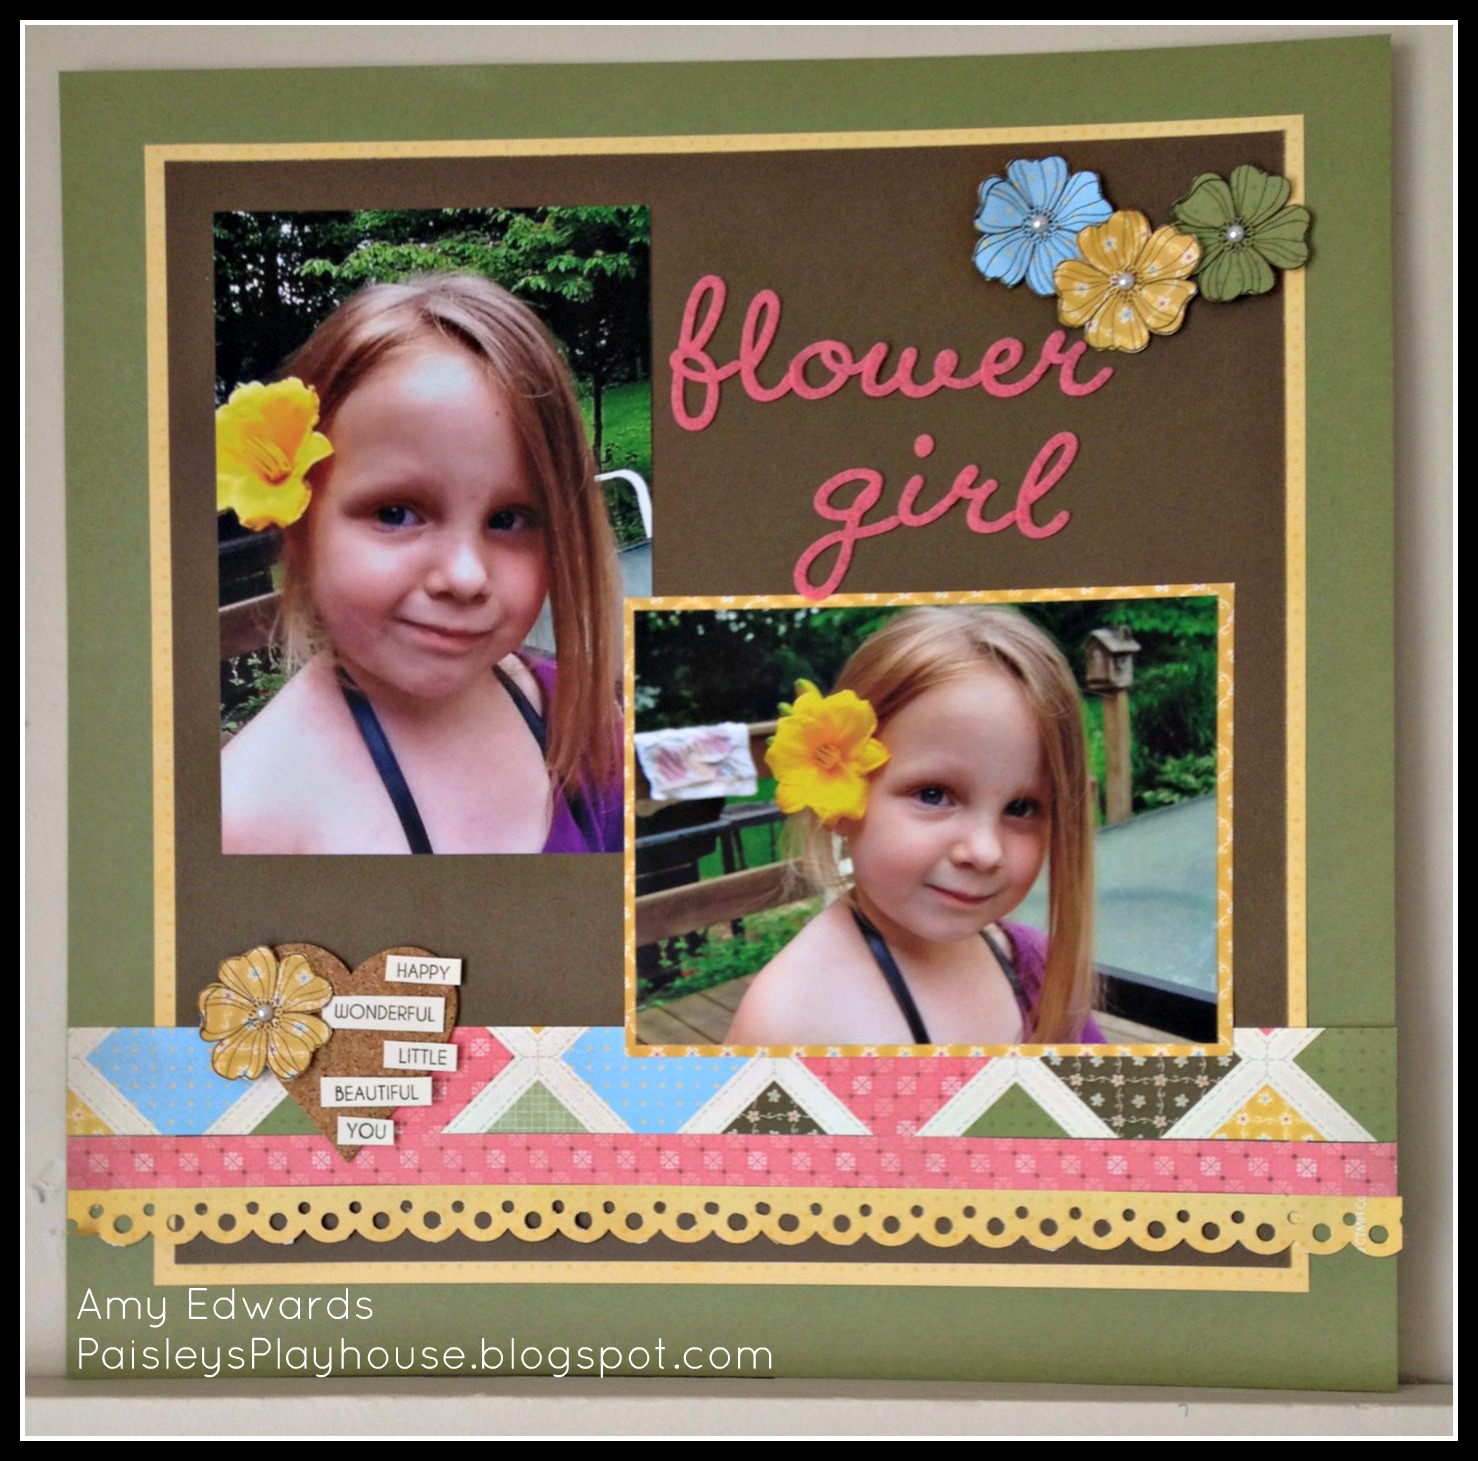
Amy stamped on pattern paper.

Fresh Face Aimee Kidd

Practical Scrapper Donna stamped on patterned paper
Practical Scrappers wants to help! Tell us your favorite way to use stamps on your projects, or what keeps you from using yours.


