Showing posts with label Erin Morehouse. Show all posts

Friday, December 13, 2013

December Layout Sketch

It's time for another Layout Sketch with the Practical Scrappers!  We hope that you enjoy this sketch and that you play along with us this month!

Here is the sketch that Liz created and that inspired us all...


Practical Scrapper Wendi Robinson


Practical Scrapper Erin Morehouse


Practical Scrapper Jessica Arrant


Practical Scrapper Jennifer Haggerty

Practical Scrapper Lee-Anne Thornton


Practical Scrapper Krissy Clark McKee rotated her sketch to create her layout.


Practical Scrapper Kim Ryden


Thanks for stopping by today!  We hope that you enjoyed out layouts and will come back next week for some more crafty fun!

Monday, March 4, 2013

On Trend - Ruffles


Nothing says girly like a few well placed ruffles, but the following techniques involving washi tape, ribbon and paper could just as easily be applied to masculine layouts and cards.  Just like ruffles on clothing, ruffles on projects can add a special detail, texture and interest.
Check out how our On Trend designers used ruffles:

 
Practical Scrapper Cathryn Hanson used washi tape and overlapped paper circles to add a sweet spring ruffle under her photos.


Practical Scrapper Kylie Symons says:
"I love crepe paper which is easy to ruffle up and adhere to your layout and always looks great."
 This layout is based on a sketch by Sara N at STUCK.


Practical Scrapper Malika Kelly used ribbon and her sewing machine to make a ruffle.

Practical Scrapper Wendi Robinson
used paper ruffles to create an ultra girlie page of her daughter and sewed over them for extra texture


Practical Scrapper Marcia Dehn-Nix created a ruffle with paper to tuck under her photo. To make paper more pliable, mist with water first, then gently fold.


Practical Scrapper Erin created a ruffled look by placing flowers under her stamped Sweet Stamp Shop  image.

No need to purchase anything new for this trend, use what you've already got on hand. Paper, flowers, washi tape, ribbons,trim, border punched papers, all make great ruffles. If you're feeling really adventurous, we have past posts showing how to use masking tape, coffee filters, candy wrappers and cupcake liners to create great ruffled looks.

Happy Monday!


Tuesday, February 26, 2013

10 Things - Transparencies

Today's 10 Things is all about that stuff we can't see, and using it with the stuff we can. Vellum, transparencies and clear embellishments got you stumped? Have a look at these fantastic ideas!

 1. Trap some good stuff. 
Practical Scrapper Charissa stitched a transparency onto her layout to create a pocket for confetti and glitter for a fun and interactive element.


2. Cut it out.
Practical Scrapper Linda used a key cut from a transparency sheet as an embellishment. She also used clear buttons here and there on the layout.


3. Create a false window.
Practical Scrapper Karen used permanent ink to stamp a bracket frame on the transparency and then embossed the flowers for her sophisticated sympathy card.


 4. Die cut it.
Practical Scrapper Lisa die cut her butterfly from transparency using her Cricut. She added some paint strokes to the back of the transparency and layered it on top of  patterned butterflies giving the wings  a textured and glossy look.


5.Colour it.
Practical Scrapper Lanette created a stained glass card using a transparency and gel pens.


6. Make it a base.
Practical Scrapper Sarah used a transparency to create a clear card.  By placing layers on both the inside and the outside of the card, she was able to create a fun, 3D effect on a clean and simple card.


7. Help them fly. Practical Scrapper Kenya used transparency scraps to give the butterflies a floating effect. 


8. Layer it up.
Practical Scrapper Kelly Jean fussy-cut onsies from a Hambly Screen Prints transparency and backed them with patterned paper to create a banner for her card.


9. Add some shine.
Practical Scrapper Leslii Wagner used clear bottle cap embellishments on each of the outer circles of her hand drawn flower.


10. Stamp it.
Practical Scrapper Erin stamped her butterflies onto vellum using Staz On, and then coloured the reverse side using Copic Markers.


Monday, February 25, 2013

On Trend- Stitching

Ok, so there's nothing really new about stitching on layouts and cards. Whether it be machine stitched, hand stitched, hand drawn or rub-ons, stitching has been appearing on projects for a long time now; just another cross over from crafts like quilting. What is trendy however is the innovation crafter's are showing in the ways they are using their stitches, and in the increase of papercrafters who are trying out the technique. So if you're looking for a way to add a little texture and interest to a page, consider sewing as an option as our designers have: 

Practical Scrapper Malika Kelly used both machine and hand stitching on her layout.  The hand stitching around the title helps make the letters pop.

 
 Practical Scrapper Danielle de Konink did a lot of hand stitching to attach the pattern papers to the background and also hand stitched the title.


Practical Scrapper Mary Pat Siehl used the sewing machine to create a large circle around her photos.

Practical Scrapper Nicole Laha used a ZIG Writer to create faux stitching around the edges of this card.

Practical Scrapper Wendi Robinson added stitching to her chevron pattern to make it stand out
 
Practical Scrapper  Marcia Dehn-Nix used handstitching to create a butterfly trail. as well as some stitching through her title letters.


Don't be intimidated to sew on your projects. Remember they don't need to be worn, so no worrying about them staying together, or sewing the wrong sides together...and imperfections can be part of the charm.
here are a few tips you may want to consider: 

  • Pre-pierce holes with a needle or tool such as WRMK Sew Easy Stitch Piercer Tool and soft mat when hand stitching.
  • Vary the thickness of thread or floss depending on the impact you want the stitching to have.
  • Always use a needle reserved for paper when using your sewing machine. remember paper will quickly dull a machine needle, and it should never be used to stitch fabric projects after.
  • Keep machine stitches fairly wide, if the stitches are very close together,  you risk "cutting" your paper.
  • Keep tacky glues like tape runners and glue dots out of the way of the stitch path ( this goes for both machine and hand stiching). they will gum up your needle. If in doubt, use a liquid glue such as Helmar Professional Acid Free Glue, and stitch once the layers are dry.
  • It's always a good idea to "Walk" the needle through thicker layers, and chipboard to avoid damage to your needle, machine and layout. 
  • You can choose to include thread tails as part of your design, or hide them on the back of your project. to get them to one side, just gently tug the thread that is on the desired side, and then pull the loop of thread it draws through all the way out. 
But most importantly!..just relax and have fun!


Monday, February 11, 2013

On Trend- Polaroids

There's no doubting that scrapbookers and paper crafters are nostalgic people, if you needed more proof, just look at the immense popularity of polaroid picture formats on projects these days. With our instant technology of digital and phone photography, I believe we are simply holding on to the essence of the polaroid so it's novelty isn't lost forever. 
 Check out how our designers used polaroids and preserved a bit of history on their projects:

Practical Scrapper Malika Kelly
Polaroids are very trendy right now, but hard to come by these days!  Make your own by using white cardstock and a frame cut file.

 
Practical Scrapper Mary Pat Siehl 
also created her own Polaroid frames using her Silhouette.

Practical Scrapper Marcia Dehn-Nix created a Polaroid Frame and used it for her card base.

Practical Scrapper Danielle de Konink created Polaroid frames with her Silhouette and used them behind her photos and as embellishments in the top left corner.


Practical Scrapper Audrey Yeager used a Polaroid stamp and some white embossing powder to create frames on her background.  She then layered some die cut frames around her page for her photo and journaling.

 Practical Scrapper Cathryn Hanson chose these unique brown Polaroid
frames that also created her title.

 
 Practical Scrapper Wendi Robinson
 created her own by cutting out square photos and then mounting them onto white cardstock and doodling a black outline.

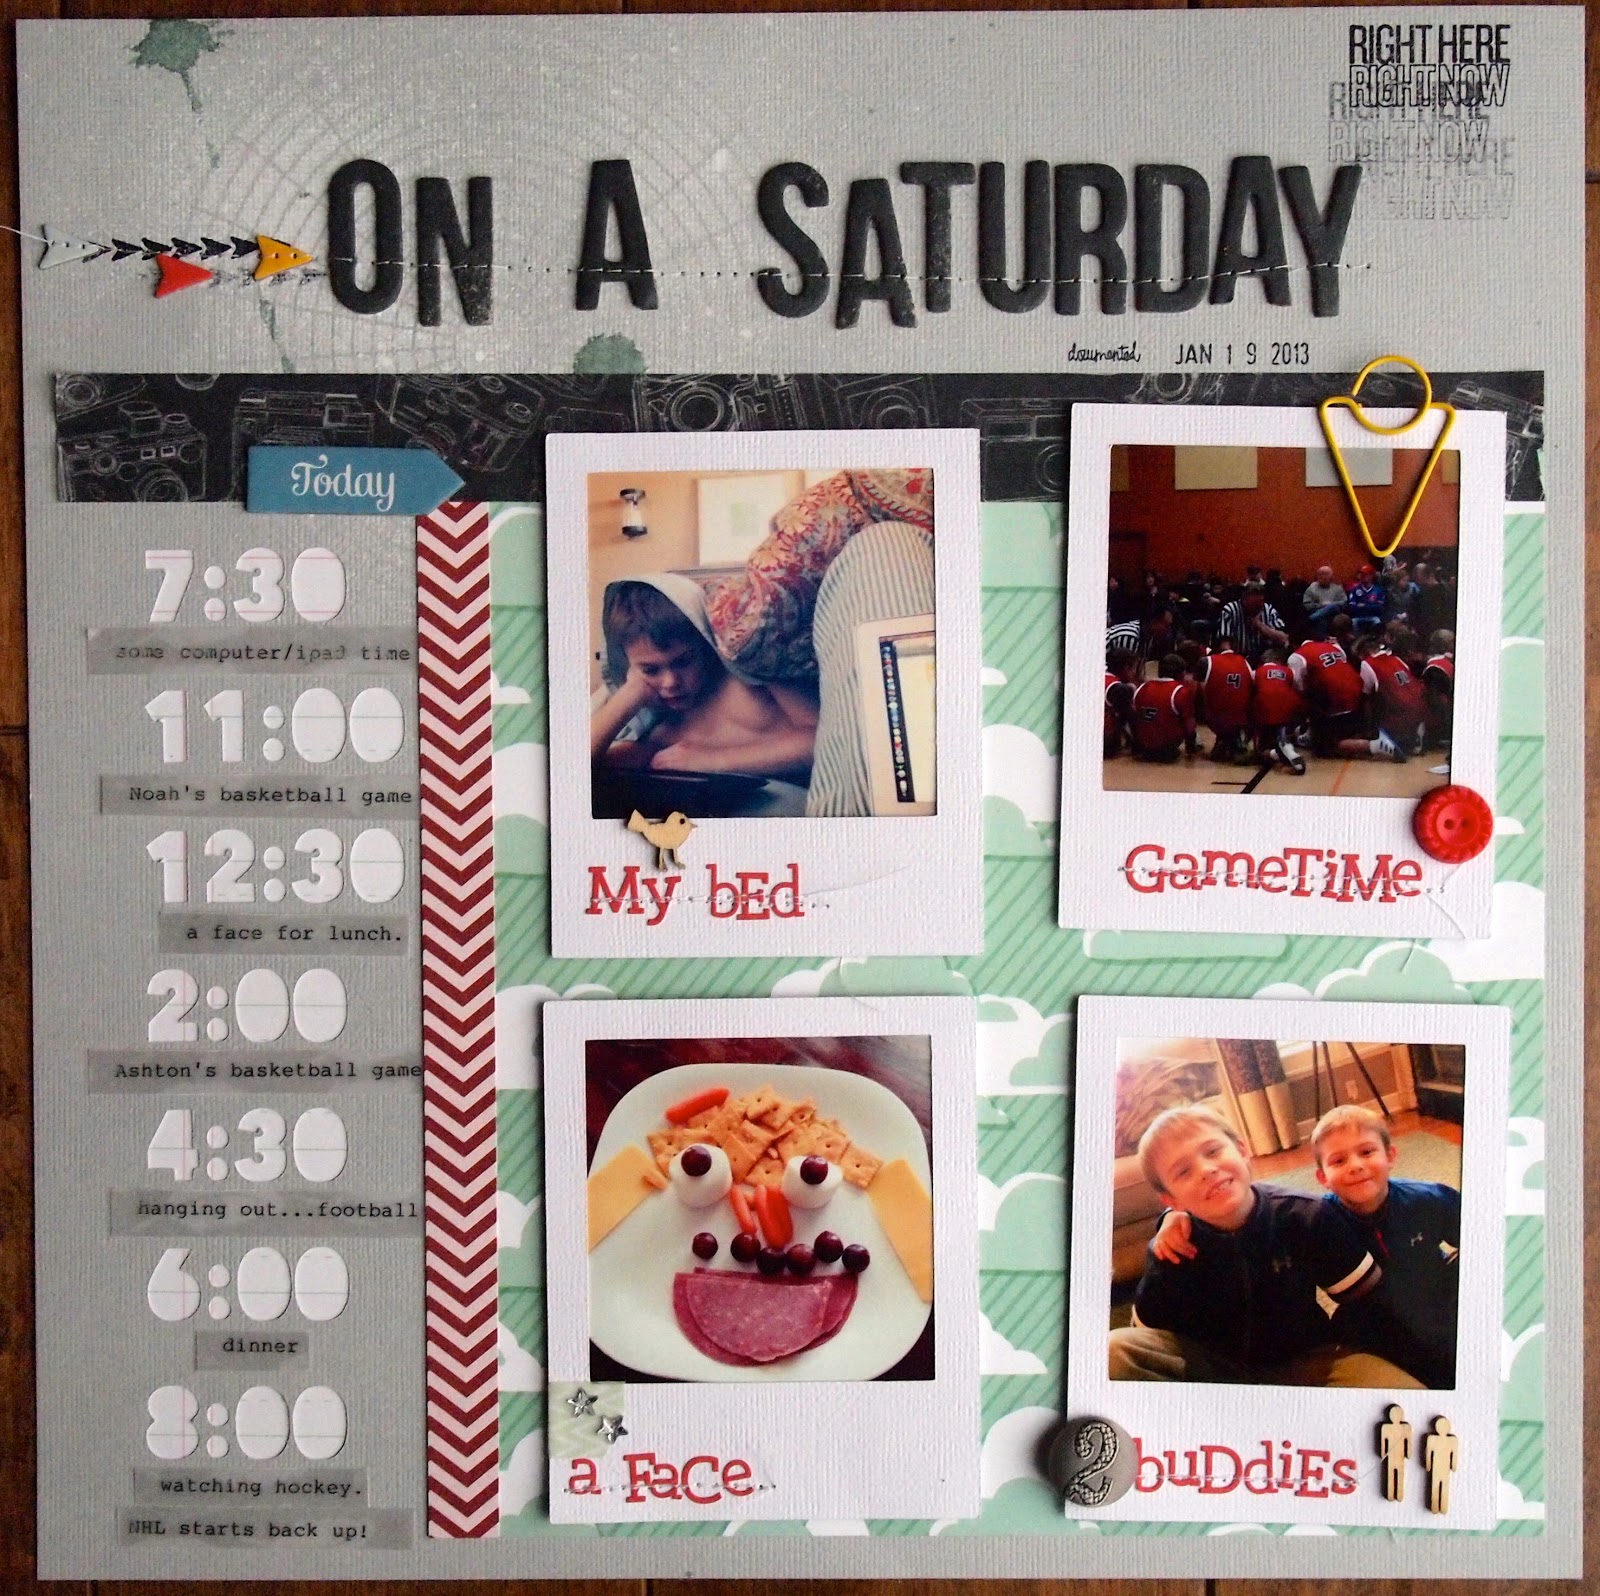
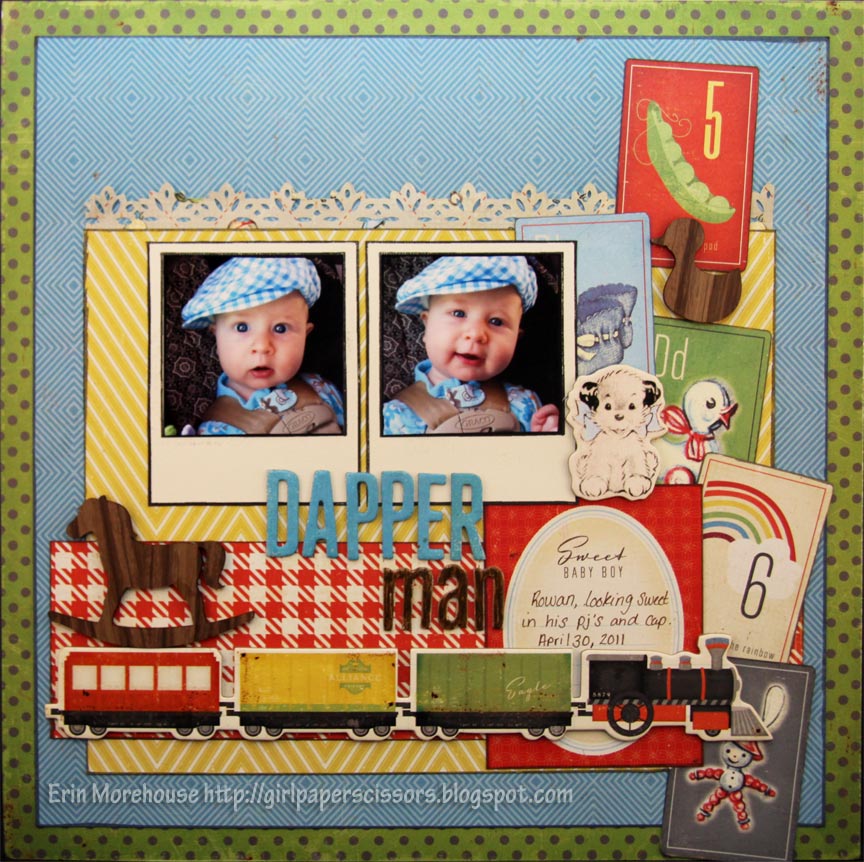
 Practical Scrapper Erin Morehouse
also chose a Polaroid stamp, and cropped her photos to fit.

So if you haven't yet tried this trend, you can find plenty of pre-cut Polaroid type frames, chipboard, wood, stamps and stickers. There are also dies and electronic cut files widely available, but making your own is also simple and practical.

Happy Monday,


**Designer projects are not always linked in our posts, but you can always find their blogs in our sidebar or in the staff tab**

Monday, February 4, 2013

On Trend- Valentines

Love is in the air! At least when it comes to getting crafty... If you are anything like me, the abundance of red white and pink, coupled with all those hearts just makes you giddy around Valentines day. It could be that they remind me of happy days as a kid with a huge book of punch out Valentines, deciding which ones I was giving to each school friend. For many of us, the love of paper "stuff" begins young, and translates into beautiful creations like these now that we're all grown.
So if you still have Valentines projects to work on, let our designer's "love"-ly projects inspire you!

 
Practical Scrapper Audrey Yeager use the Crate Paper 'Fourteen" collection to document her kids current favorite thing they love.

 
 Practical Scrapper Danielle de Konink made a quick and easy Valentine's card. The arrow stamp and flair button are from Cre8tive Cre8tions. The word Valentine is cut out in different fonts with the Silhouette Cameo. For the background she misted a heart shaped doily.

  
Practical Scrapper Marcia Dehn-Nix created her Valentine's card using the Imaginisce Love You More collection.


Practical Scrapper Mary Pat Siehl also used the new collection Love You More from Imaginisce.


 Practical Scrapper Liz
 created this sweet Valentine with a great heart shaped doily.


 Practical Scrapper Nicole Laha used untraditional colors to create this Valentine. The layers are a mixture of supplies, including washi tape, cardboard, and doilies.


 Practical Scrapper Wendi Robinson
created a Valentines page about her love for her husband of the past 14 years


Practical Scrapper Kylie
used a STUCK sketch by Sara Noendeng.

 Practical Scrapper Erin used non-Valentine papers, some OLD My Mind's Eye die cuts and cupcake liners to create the ruffle and faux washi tape on her layout for an LCOM challenge.


**Designer projects are not always linked in our posts, but you can always find their blogs in our sidebar or in the staff tab**